
Ceramic Blade Guides - Startrite & ACM Bandsaws
Ceramic Blade Guides spare parts. Suitable for newer Startrite bandsaws fitted with ceramic blade guides, such as the 352SB, 401S & more. ACM bandsaws are often also fitted with ceramic blade guides compatible with these spares.
Get in touch with us and we can check if your saw is compatible or not.
| Image | Product Code | NAME (CLICK FOR DETAILS) | Price - Exc VAT | Stock | Buy | |
|---|---|---|---|---|---|---|
 | 52500CGS | COMPLETE GUIDE SET with CERAMIC INSERTS (Startrite & ACM Bandsaws) | £290.62 | |||
 | 5250052 | CERAMIC BLADE GUIDE - SIDE ELEMENT with CERAMIC INSERTS | £52.03 | In stock | ||
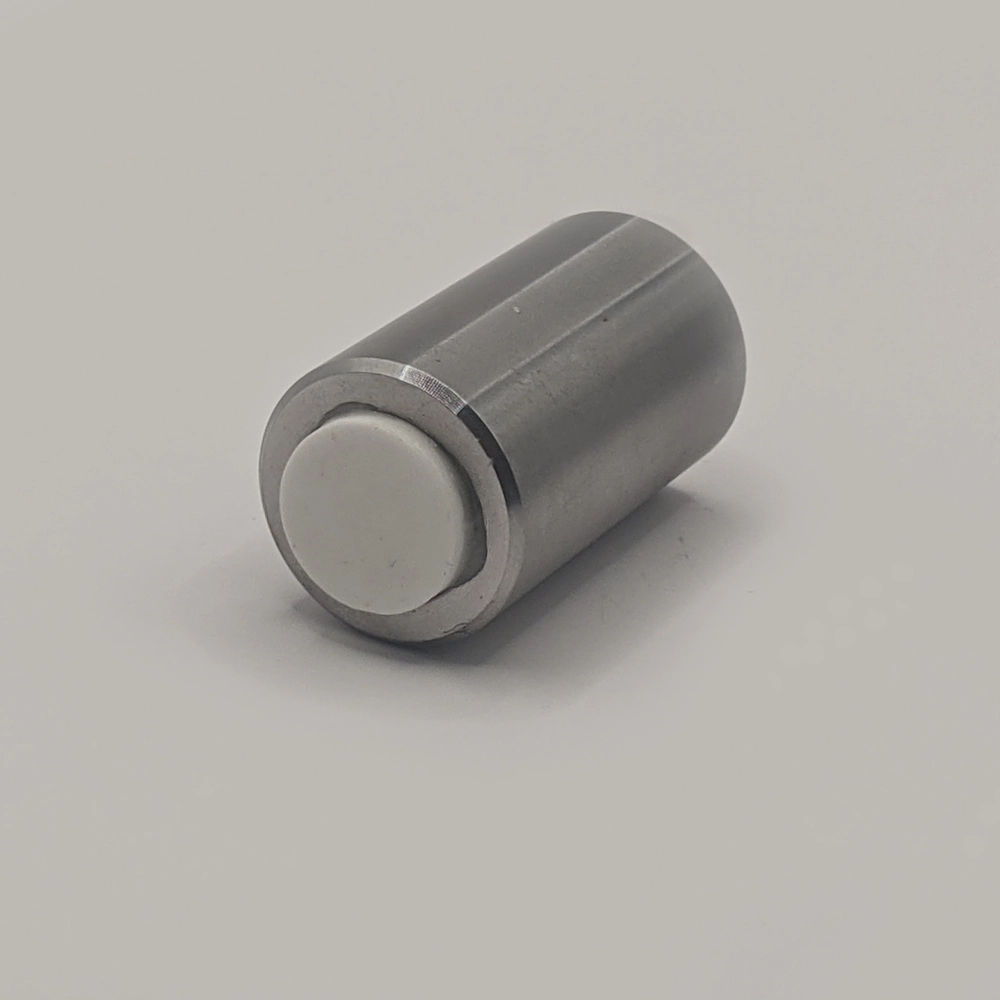 | 5250050 | THRUST ROD with CERAMIC TIP (Startrite & ACM Ceramic Blade Guides) | £41.25 | In stock | ||
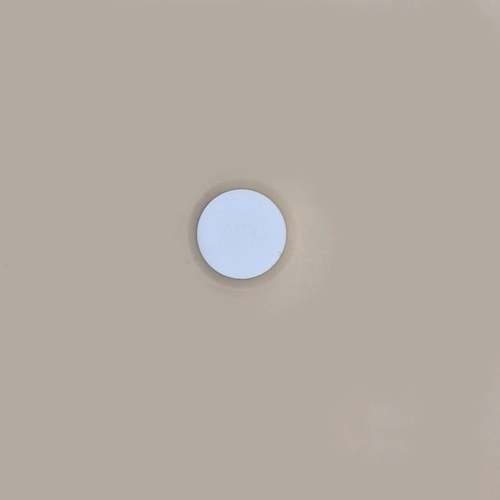 | 5250050/A | CERAMIC TIP FOR THRUST ROD | £21.78 | In stock | ||
 | 5250052/A | CERAMIC GUIDE INSERT - SIDE ELEMENT | £22.79 | In stock |
Refitting Ceramic Guide Inserts
We recommend you only replace inserts on a guide body or thrust rod that is in good condition. If the part is damaged, replace the whole unit rather than the insert. Fitting replacement inserts is simple:
- Heat the guide body / thrust rod to weaken the glue that holds in the insert. A heat gun is the best way to do this.
- Push out the ceramic insert from the guide body. For the thrust rod you will most likely need to pry the ceramic button out as they are tapered.
- Use a scrapper tool to remove excess glue left behind by the ceramic insert.
- Degrease the dovetail slot / button slot & apply 2-pack epoxy to the dovetail or button slot. We recommend using Araldite.
- Slide in your ceramic insert into the slot in the side element, ensuring it’s flush with the face of the guide body on one side. For the Thrust rod, just push your insert into the space in the thrust rod body, ensuring the wider end of the taper is in the thrust rod body.
- Allow 24 hours before using the guide.